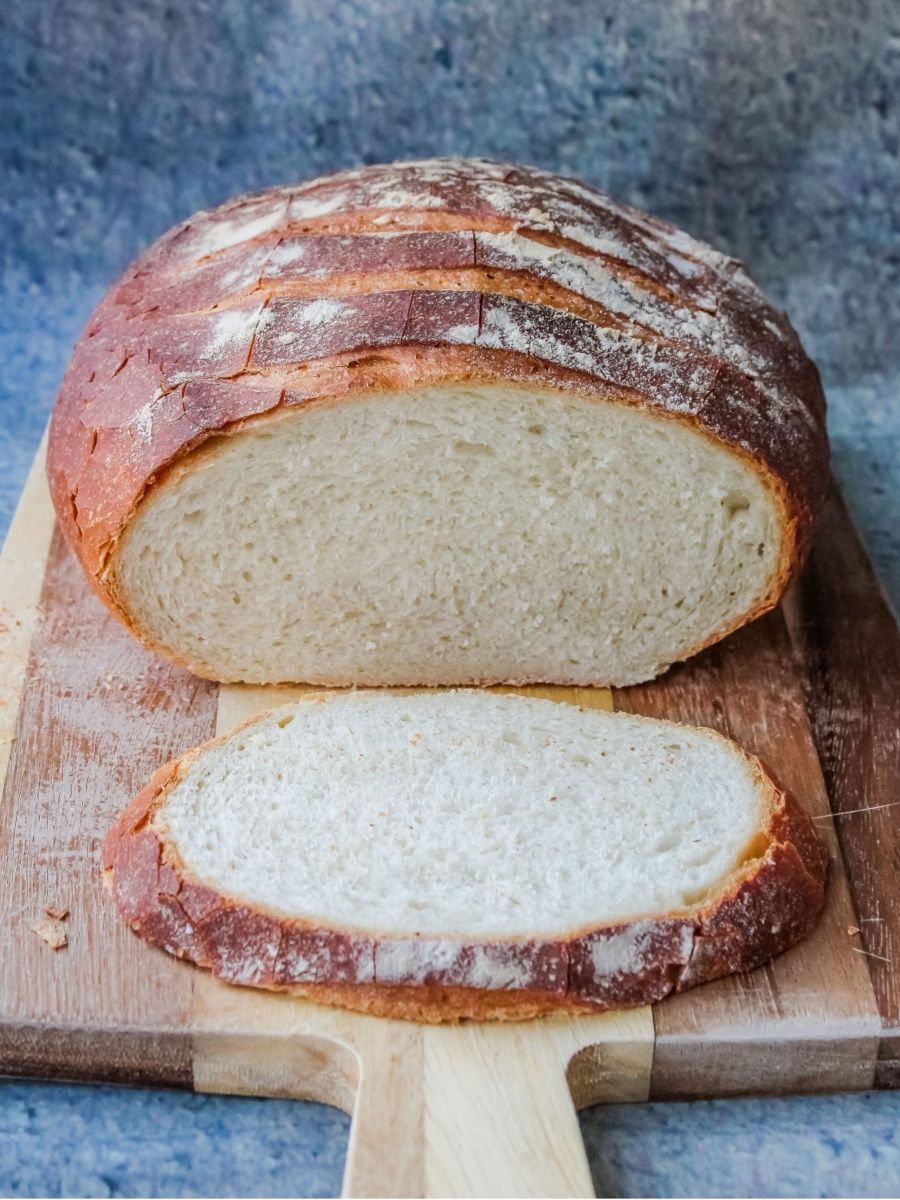
Combine the Dry Ingredients and Butter: Add the strong white flour to a large bowl. Add the softened butter, then place the instant dry yeast and salt on separate sides of the bowl so the salt does not slow or kill the yeast. Gently mix everything together with your hand until just combined. Add the Water and Form the Dough: Pour approximately two-thirds of the lukewarm water into the bowl and continue mixing by hand. Gradually add more water, mixing between additions, until the dough is smooth but not soggy. You may not need all 290 ml, or you may need a little more. If too much water is added and the dough becomes soggy, sprinkle in a little extra flour until the correct consistency is reached. Knead the Dough: Lightly pour and spread olive oil over a clean work surface and place the dough on top. Knead for approximately 10–12 minutes, using the oiled surface rather than flour so additional flour does not affect the dough's consistency. Continue until the dough develops a smooth outer skin. First Rise: Lightly oil the large bowl and return the kneaded dough to it. Cover with a clean cloth or cling film and place in a warm location for 1–2 hours, until it has at least doubled in size.
Deflate the Dough: Lightly flour a work surface and gently tip the risen dough onto it. Gently punch the dough to release the trapped air.
Begin Shaping the Cob: Take one edge of the dough, pull it across toward the opposite side, and press it down to seal it into the dough.
Build Surface Tension: Turn the dough slightly and repeat the pulling and sealing process several times. Continue turning slightly between each fold. As the dough becomes tighter and firmer, you will gradually be able to pull less dough across; this builds the tension needed to help the loaf maintain its round shape without spreading. Tighten the Loaf: Turn the dough over so the folded seams are underneath, leaving a smooth-skinned round of dough on top. Cup your hands around both sides, tucking them slightly underneath the dough. Turn the dough clockwise or anti-clockwise while repeatedly lifting it slightly and tucking your hands underneath to pull the dough inward and tighten the outer skin. Complete the Cob Shape: Continue tightening the dough until it feels firm and holds its rounded shape. Place it on a silicone baking tray or a baking tray lined with baking paper.
Second Rise: Cover the shaped loaf gently with a cloth or a loose piece of cling film. Leave it to rise on the baking tray for approximately 1 hour, until it has risen to around double its original size.
Preheat the Oven: Preheat the oven to 230°C/210°C fan. Place an empty roasting tray on the lowest shelf or base of the oven while it preheats.
Score the Loaf: Once the dough has completed its second rise, remove the cling film if using it. Lightly dust the top with flour, then use a sharp knife to make several incisions across the surface.
Create Steam: Carefully add boiling water to the empty, preheated roasting tray in the oven. Work quickly to avoid losing too much heat; the steam will help create a lovely crust.
Bake the Bread: Place the loaf on the middle shelf of the oven and bake for approximately 30 minutes. Check for doneness by carefully turning the loaf over and tapping the base; it should sound hollow when fully baked. Cool and Store: Transfer the baked loaf to a wire cooling rack and allow it to cool completely. Keep the bread well covered in a cool place and enjoy it within three days.