Prepare the Pan: Preheat the oven to 350°F (180°C). Grease an 8-inch pan with baking spray and line it with parchment paper, leaving an overhang for easier removal. If using a springform pan, remove the sides, position the parchment over the base with an overhang, then secure the sides back in place. Grind the Cookies: Place the Biscoff cookies in a food processor and process at full speed until they become fine, even crumbs.
Make the Crust Mixture: Add the granulated sugar and melted salted butter to the cookie crumbs. Pulse until the butter is evenly distributed throughout the crumbs.
Press the Crust: Transfer the mixture to the prepared pan. Use the bottom of a 1/2-cup measuring cup to press the crumbs firmly and evenly across the base, bringing some of the mixture up the sides.
Bake the Crust: Bake the crust for 5–10 minutes while preparing the cheesecake filling.
Bring Ingredients to Temperature: Make sure the cream cheese, eggs, and sour cream are at room temperature. If needed, place the packaged cream cheese and eggs in hot water for 5–10 minutes. The sour cream can be microwaved for 10–20 seconds to take off the chill. Combine Cream Cheese Sugar: Place the softened cream cheese in a stand mixer fitted with the paddle attachment, or use a large bowl with a hand mixer. Mix on low speed while gradually adding the sugar.
Smooth the Filling: Continue mixing for 1–2 minutes, scraping around the bowl occasionally, until the cream cheese mixture is completely smooth and no chunks remain.
Add Sour Cream Flavorings: Add the room-temperature sour cream, vanilla extract, and fine sea salt. Mix on low speed until everything is fully incorporated.
Add the Eggs: Keeping the mixer on low, add the eggs one at a time, mixing only until each egg is incorporated before adding the next. Scrape the sides of the bowl thoroughly, then mix once more just until smooth. Keep the speed low to avoid incorporating excess air.
Lower the Oven Temperature: When the crust comes out of the oven, reduce the oven temperature to 300°F (148°C), using conventional heat with no fan.
Fill the Crust: Fold the cheesecake batter a few times with a spatula, then pour it over the baked crust and smooth the surface as needed.
Prepare the Oven: Place the cheesecake on the bottom rack of the oven. Set another pan filled with hot water beside the cheesecake.
Bake the Cheesecake: Bake for about 60 minutes, until the edges are set while the center remains visibly jiggly.
Release the Edges: Turn the oven off and pull the cheesecake slightly forward so you can reach it. Carefully run a knife around the edge of the cheesecake to release it from the pan and help prevent cracking as it cools.
Cool in the Oven: Return the cheesecake to the oven and leave the door halfway open for 20 minutes.
Cool Completely: Remove the cheesecake from the oven and let it cool to room temperature.
Chill the Cheesecake: Refrigerate the cooled cheesecake for at least 4–6 hours so it can fully set.
Pit the Cherries: Remove the pits from the fresh black cherries using a cherry pitter while keeping the cherries whole. If a pitter is unavailable, cut the cherries in half and remove the pits manually.
Cook the Cherry Mixture: Place the cherries, granulated sugar, and juice from the large lemon in a small pot. Cook over medium-low heat for about 5 minutes, until the cherries become slightly softer.
Make the Slurry: Mix the cornstarch with a tiny amount of water in a small bowl to form a smooth slurry.
Thicken the Topping: Add the cornstarch slurry to the cherries. Continue cooking over medium-low heat for a few more minutes, stirring continuously, until the mixture visibly thickens.
Cool the Cherry Topping: Once thickened, remove the cherry sauce from the heat. Stir for a few more seconds, then transfer it to a heat-safe jar or bowl. Allow it to cool completely to room temperature.
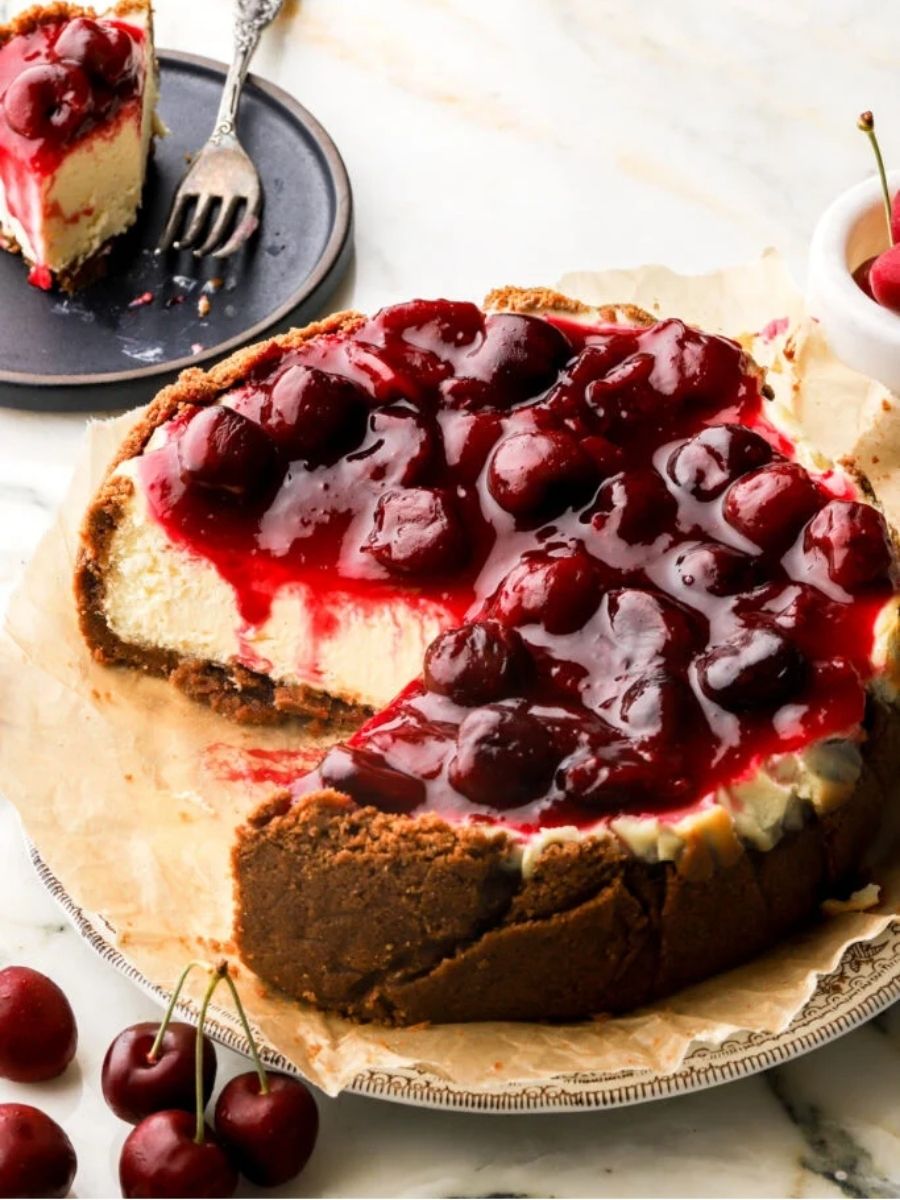
Top the Cheesecake: Spread the cooled cherry topping evenly over the chilled cheesecake. Keep the finished cheesecake refrigerated until ready to serve.