
BakeryDiary is a recipe curation and editorial platform. We research and curate recipes from public sources, considering ratings, reviews, comments, and feedback. We then refine and present them clearly for home cooks. We are committed to an ad-free, focused experience that makes discovering and preparing recipes easier.
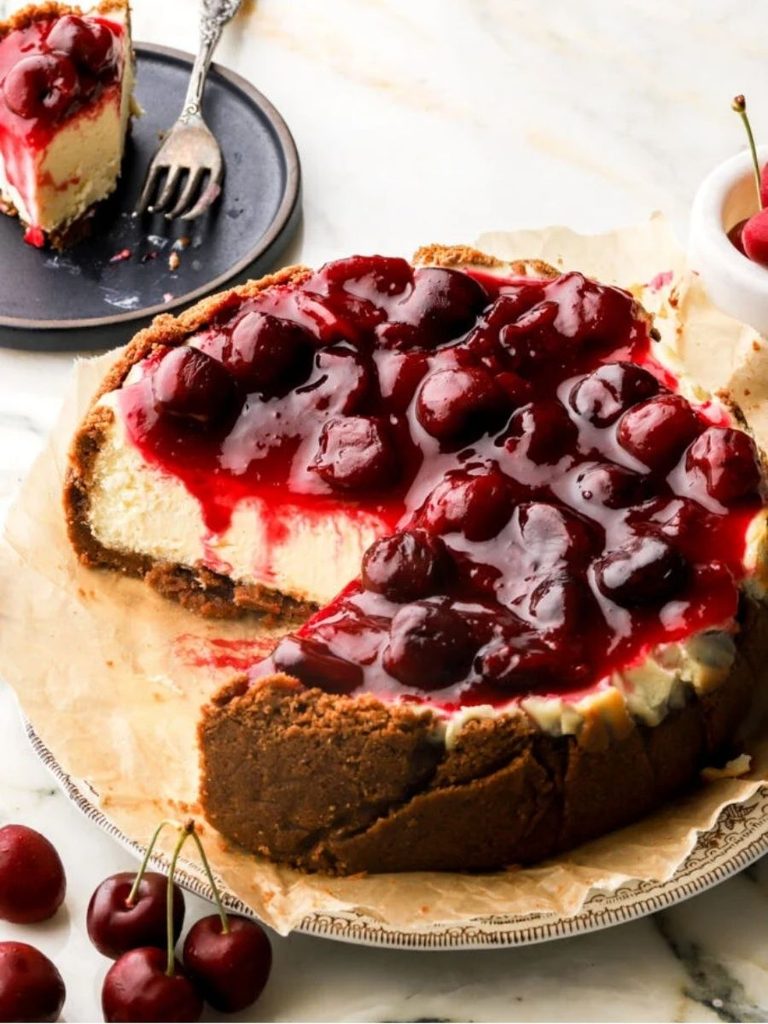
This Cherry Cheesecake brings together three irresistible layers in one elegant dessert: a buttery Biscoff cookie crust, a smooth vanilla cheesecake filling, and a glossy homemade cherry topping.
The Biscoff crust adds a lightly spiced, caramel-like flavor that gives the cheesecake a distinctive base, while the rich cream cheese filling remains creamy, dense, and beautifully balanced by the tang of sour cream.
The filling is gently mixed with vanilla, a touch of fine sea salt, and room-temperature eggs to create a silky batter without incorporating excess air.
Once baked, the cheesecake develops set edges while the center retains a delicate jiggle, giving each chilled slice a rich yet velvety texture.
A gradual cooling process followed by several hours in the refrigerator allows the cheesecake to firm up properly and makes it easier to slice cleanly.
The topping adds the finishing touch. Fresh black cherries are cooked with granulated sugar and lemon juice until slightly softened, then thickened with a cornstarch slurry.
The result is a sweet, glossy cherry sauce with a bright citrus note that cuts through the richness of the cheesecake.
With its contrasting golden crust, creamy center, and vibrant cherry topping, this dessert is both visually striking and deeply satisfying.
It makes 16 servings, making it especially suitable for gatherings, celebrations, or any occasion where a classic baked cheesecake deserves a special presentation.
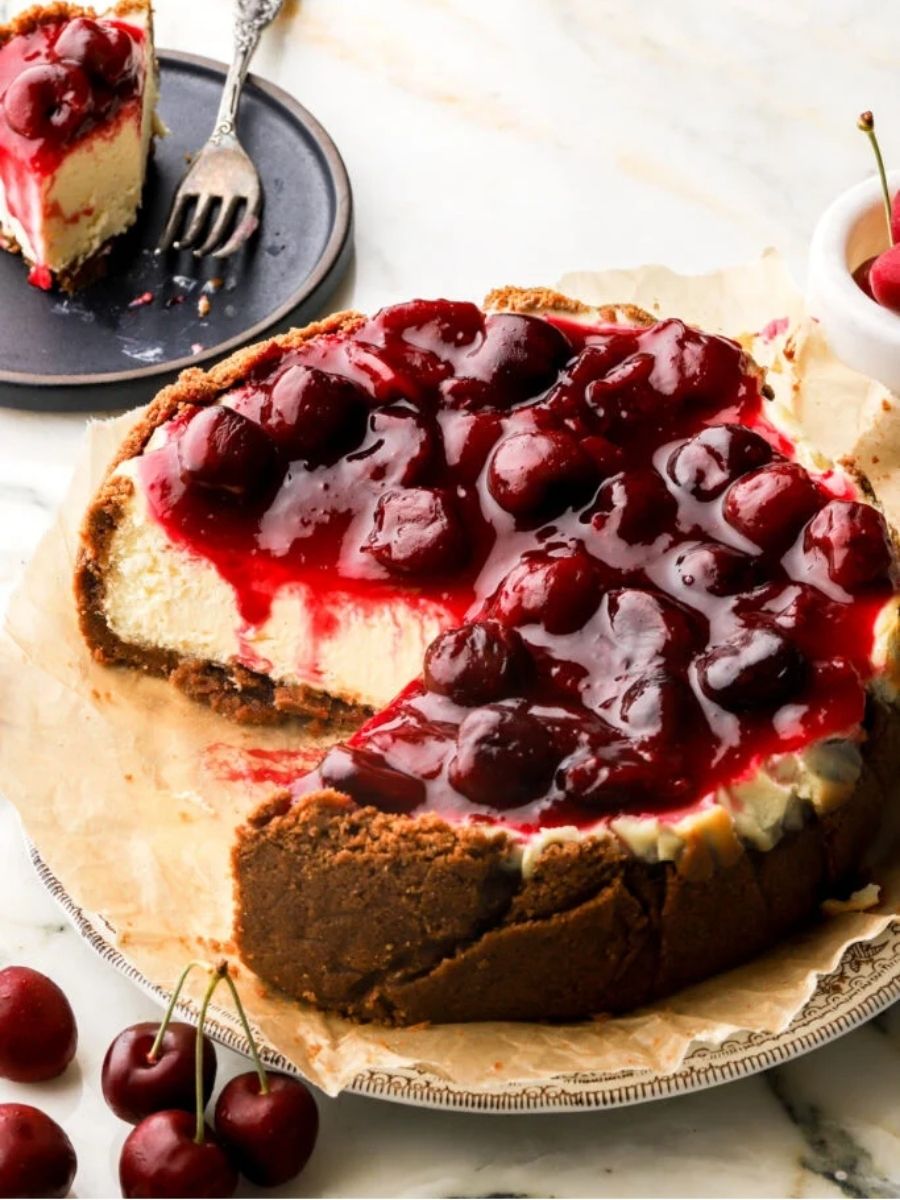

Creamy Vanilla Cherry Cheesecake
Ingredients
Equipment
Method
- Prepare the Pan: Preheat the oven to 350°F (180°C). Grease an 8-inch pan with baking spray and line it with parchment paper, leaving an overhang for easier removal. If using a springform pan, remove the sides, position the parchment over the base with an overhang, then secure the sides back in place.
- Grind the Cookies: Place the Biscoff cookies in a food processor and process at full speed until they become fine, even crumbs.
- Make the Crust Mixture: Add the granulated sugar and melted salted butter to the cookie crumbs. Pulse until the butter is evenly distributed throughout the crumbs.
- Press the Crust: Transfer the mixture to the prepared pan. Use the bottom of a 1/2-cup measuring cup to press the crumbs firmly and evenly across the base, bringing some of the mixture up the sides.
- Bake the Crust: Bake the crust for 5–10 minutes while preparing the cheesecake filling.
- Bring Ingredients to Temperature: Make sure the cream cheese, eggs, and sour cream are at room temperature. If needed, place the packaged cream cheese and eggs in hot water for 5–10 minutes. The sour cream can be microwaved for 10–20 seconds to take off the chill.
- Combine Cream Cheese Sugar: Place the softened cream cheese in a stand mixer fitted with the paddle attachment, or use a large bowl with a hand mixer. Mix on low speed while gradually adding the sugar.
- Smooth the Filling: Continue mixing for 1–2 minutes, scraping around the bowl occasionally, until the cream cheese mixture is completely smooth and no chunks remain.
- Add Sour Cream Flavorings: Add the room-temperature sour cream, vanilla extract, and fine sea salt. Mix on low speed until everything is fully incorporated.
- Add the Eggs: Keeping the mixer on low, add the eggs one at a time, mixing only until each egg is incorporated before adding the next. Scrape the sides of the bowl thoroughly, then mix once more just until smooth. Keep the speed low to avoid incorporating excess air.
- Lower the Oven Temperature: When the crust comes out of the oven, reduce the oven temperature to 300°F (148°C), using conventional heat with no fan.
- Fill the Crust: Fold the cheesecake batter a few times with a spatula, then pour it over the baked crust and smooth the surface as needed.
- Prepare the Oven: Place the cheesecake on the bottom rack of the oven. Set another pan filled with hot water beside the cheesecake.
- Bake the Cheesecake: Bake for about 60 minutes, until the edges are set while the center remains visibly jiggly.
- Release the Edges: Turn the oven off and pull the cheesecake slightly forward so you can reach it. Carefully run a knife around the edge of the cheesecake to release it from the pan and help prevent cracking as it cools.
- Cool in the Oven: Return the cheesecake to the oven and leave the door halfway open for 20 minutes.
- Cool Completely: Remove the cheesecake from the oven and let it cool to room temperature.
- Chill the Cheesecake: Refrigerate the cooled cheesecake for at least 4–6 hours so it can fully set.
- Pit the Cherries: Remove the pits from the fresh black cherries using a cherry pitter while keeping the cherries whole. If a pitter is unavailable, cut the cherries in half and remove the pits manually.
- Cook the Cherry Mixture: Place the cherries, granulated sugar, and juice from the large lemon in a small pot. Cook over medium-low heat for about 5 minutes, until the cherries become slightly softer.
- Make the Slurry: Mix the cornstarch with a tiny amount of water in a small bowl to form a smooth slurry.
- Thicken the Topping: Add the cornstarch slurry to the cherries. Continue cooking over medium-low heat for a few more minutes, stirring continuously, until the mixture visibly thickens.
- Cool the Cherry Topping: Once thickened, remove the cherry sauce from the heat. Stir for a few more seconds, then transfer it to a heat-safe jar or bowl. Allow it to cool completely to room temperature.
- Top the Cheesecake: Spread the cooled cherry topping evenly over the chilled cheesecake. Keep the finished cheesecake refrigerated until ready to serve.
Notes
- Bring the cream cheese, sour cream, and eggs to room temperature before mixing for a smoother filling.
- Keep the mixer on low speed throughout the filling preparation to avoid incorporating excess air.
- Scrape the bowl regularly to eliminate any remaining cream cheese lumps.
- The cheesecake is ready when the edges are set but the center still has a noticeable jiggle.
- Running a knife around the cheesecake immediately after turning off the oven helps release it from the pan as it cools.
- Allow at least 4–6 hours of refrigeration before topping and serving so the cheesecake can fully set.
- For a springform pan, leave a parchment overhang beneath the base to make removal easier.
- If you do not have a cherry pitter, halve the cherries and remove the pits before cooking.
- Cook the cornstarch slurry into the cherry mixture until the topping visibly thickens before removing it from the heat.
Chef’s Secret
The key to a smooth, creamy cheesecake is controlling both ingredient temperature and mixing speed.
Cold cream cheese can leave stubborn lumps, while high-speed mixing can introduce excess air that may contribute to an uneven surface.
Bring the cream cheese, sour cream, and eggs to room temperature before beginning, then keep the mixer on low from start to finish.
After each egg is added, scrape the bowl thoroughly so the batter stays uniform without requiring prolonged mixing.
The gentle bake and gradual cooling are equally important. When the cheesecake is finished, the edges should be set while the center remains jiggly.
Releasing the edges with a knife before cooling allows the cheesecake to contract naturally without pulling against the pan.
Serving Suggestions
Serve the cheesecake well chilled, cutting it into clean slices with a sharp knife.
Spoon extra cherry topping over individual slices for a more generous fruit finish, or let the vibrant cherry sauce remain concentrated on top for a simple presentation.
The golden Biscoff crust already provides a flavorful contrast to the creamy filling, so minimal garnishing is needed.
For gatherings, arrange the slices on a serving platter and keep the remaining cheesecake refrigerated until needed.
Conclusion
This Cherry Cheesecake combines a buttery Biscoff crust, creamy vanilla cheesecake, and bright homemade cherry topping into one beautifully balanced dessert.
The rich, smooth filling contrasts wonderfully with the sweet-tart cherries and lightly spiced cookie base, making it an inviting choice for celebrations, dinner parties, or any occasion calling for an impressive homemade cheesecake.
