
BakeryDiary is a recipe curation and editorial platform. We research and curate recipes from public sources, considering ratings, reviews, comments, and feedback. We then refine and present them clearly for home cooks. We are committed to an ad-free, focused experience that makes discovering and preparing recipes easier.
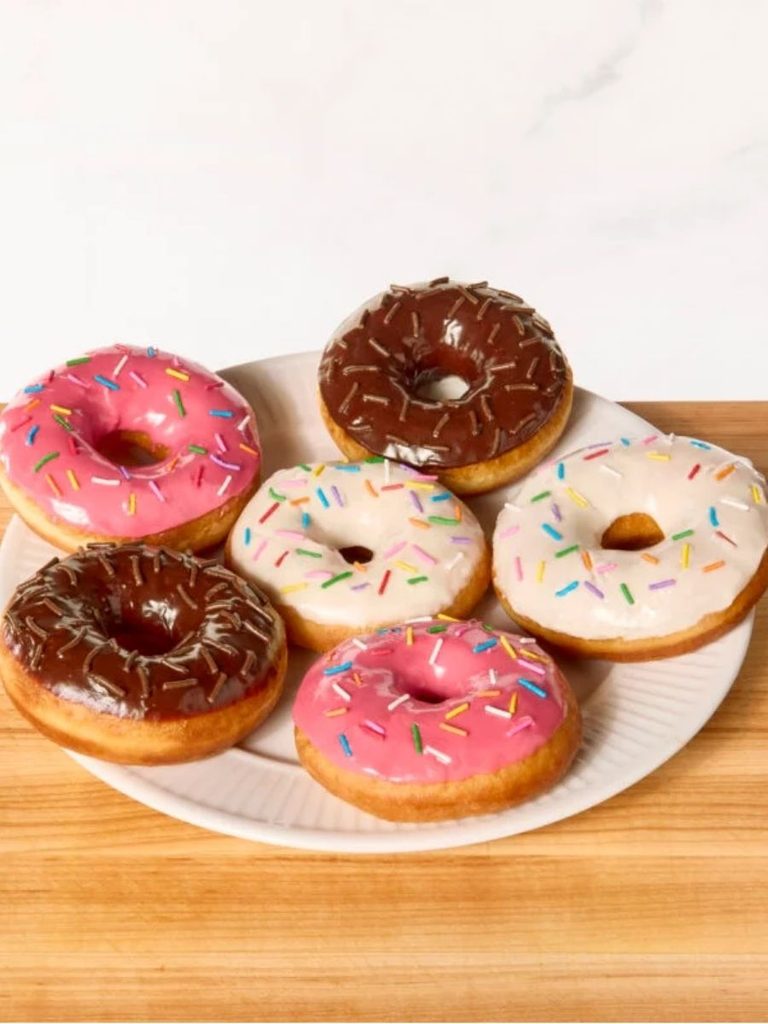
These classic yeast donuts are wonderfully light, airy, and soft inside, with a beautifully golden exterior and the signature pale ring that makes them look straight from a bakery case.
The dough combines warm whole milk, active dry yeast, sugar, melted butter, eggs, vanilla, salt, and all-purpose flour to create a tender, slightly rich base.
After rising until puffy, the dough is rolled and cut into familiar donut shapes before being fried until evenly golden.
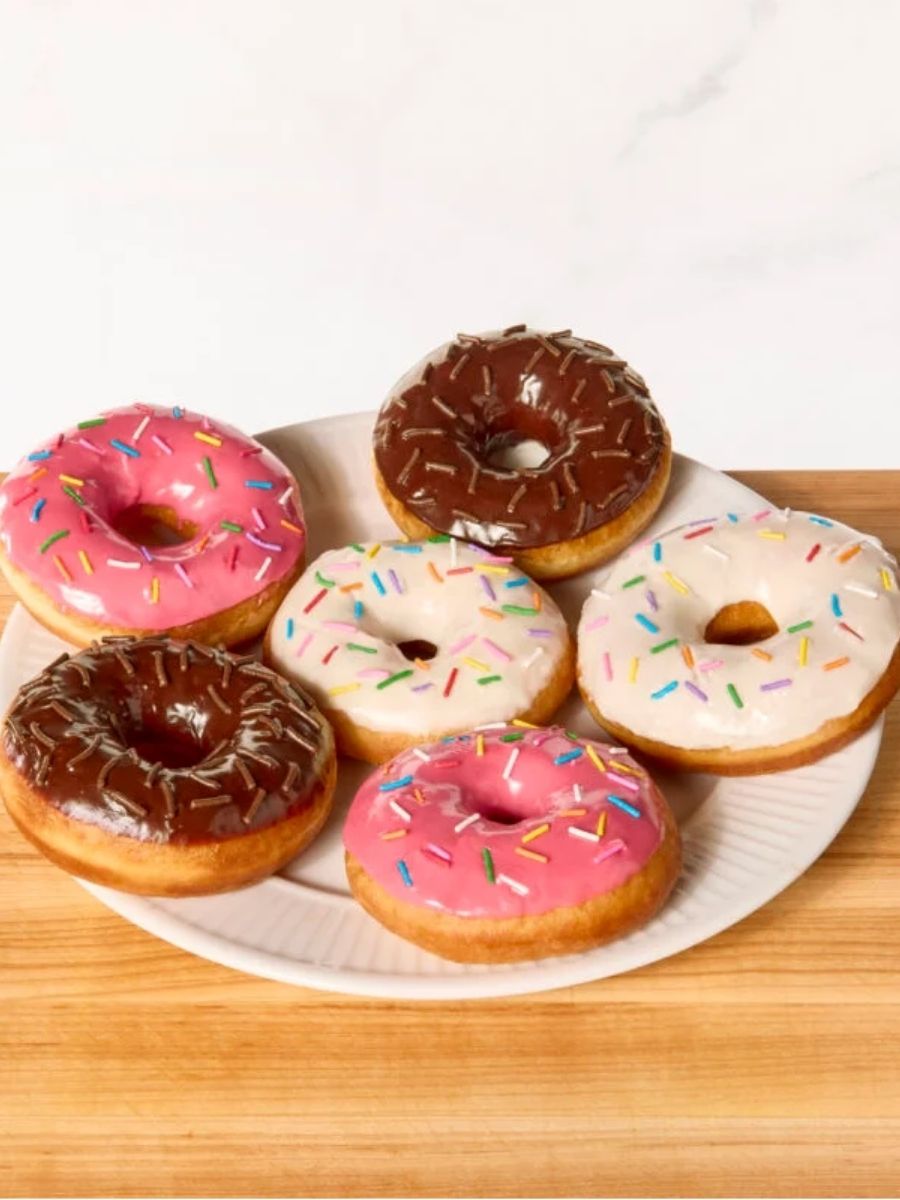
The finished donuts can be coated in a smooth vanilla glaze, rich chocolate glaze, or sweet strawberry glaze, with colorful sprinkles adding an easy finishing touch.
Light and fluffy homemade yeast donuts are fried until golden, then dipped in smooth vanilla, chocolate, or strawberry glaze and finished with sprinkles for a classic bakery-style treat.
Whether served fresh for breakfast, a weekend treat, or a homemade dessert, these donuts offer that irresistible combination of fluffy texture, delicate sweetness, and glossy glaze that makes freshly fried yeast donuts so appealing.

Classic Bakery-Style Yeast Donuts
Ingredients
Equipment
Method
- Activate the Yeast: Combine the warm milk, active dry yeast, and sugar in the bowl of a stand mixer and let the mixture stand for about 15 minutes, or until it becomes foamy. If the mixture does not foam, discard it and begin again with fresh yeast.
- Build the Dough: Fit the stand mixer with the dough hook, then add the melted and cooled butter, eggs, vanilla extract, and salt to the yeast mixture. Mix on medium-low speed for about 1 minute.
- Add the Flour: Add one-third of the flour and mix until incorporated. Repeat with another third, then gradually add the remaining flour, mixing for 3–5 minutes until a soft, slightly tacky dough forms. Scrape down the sides of the bowl as needed.
- Knead the Dough: Increase the mixer speed to medium-high and knead for about 3 minutes, until the dough begins pulling away from the sides of the bowl.
- Finish Kneading by Hand: Transfer the dough to a floured surface and lightly flour your hands. Knead gently until the dough becomes smooth and elastic, adding flour to your hands as necessary so the dough no longer sticks to your hands or the work surface.
- First Rise: Grease a large bowl with softened butter and place the dough inside. Cover the bowl and let the dough rise in a warm place for about 1 hour, or until it has doubled in size.
- Prepare the Baking Sheets: Cut two sheets of parchment paper into thirds and use the pieces to line two baking sheets.
- Roll the Dough: Transfer the risen dough to a work surface and press it into an approximately 11 × 14-inch rectangle about ½ inch thick.
- Cut the Donuts: Dip the donut cutter in flour and cut out the donuts, using a 3½-inch (9 cm) outer ring and a 1-inch (2.5 cm) center cutter. Transfer the cut donuts to the parchment-lined baking sheets.
- Second Rise: Cover the shaped donuts lightly and let them rest for about 1 hour, or until they look puffy and slightly larger.
- Heat the Oil: Pour the neutral frying oil into a heavy-bottomed pot or Dutch oven and heat it to 350°F (176°C), monitoring the temperature with a thermometer.
- Fry the Donuts: Fry 2–3 donuts at a time for about 1 minute per side, turning them as needed, until they are evenly golden brown.
- Drain the Donuts: Remove the fried donuts with a slotted spoon or spider strainer and place them on a wire rack set over a sheet pan to drain.
- Cool Before Glazing: Allow the donuts to cool slightly for about 5 minutes before applying the glaze.
- Prepare the Glazes: Whisk each glaze separately in its own bowl until thick, smooth, and spoonable. Add more powdered sugar if a thicker glaze is needed, or add more milk for a smoother consistency. The finished glaze should have a thick, shiny, frosting-like texture.
- Glaze the Donuts: Dip the top of each slightly cooled donut into the desired glaze, twist gently, and lift it out to create an even coating.
- Add the Sprinkles: Immediately decorate vanilla and strawberry-glazed donuts with rainbow sprinkles and chocolate-glazed donuts with chocolate sprinkles.
- Set the Glaze: Leave the glazed donuts undisturbed for about 15–30 minutes, or until the glaze has set.
- Serve: Serve the donuts fresh for the best texture and flavor.
Notes
- Use milk warmed to 90°F (32°C) so the yeast can activate properly without being exposed to excessive heat.
- Allow the yeast mixture to become visibly foamy before continuing; if it does not foam, the source recipe recommends starting again with fresh yeast.
- The finished dough should be soft and slightly tacky, rather than stiff or dry. Add flour to your hands and work surface as needed during hand-kneading.
- Let the dough complete both rises until it is visibly expanded and puffy. These rises contribute to the donuts’ light, airy texture.
- Flour the donut cutter before cutting to help create clean shapes and prevent the dough from sticking.
- Keep the frying oil at 350°F (176°C) and fry only 2–3 donuts at a time so they can cook evenly.
- Allow the fried donuts to cool for about 5 minutes before glazing.
- For the best freshness, store glazed donuts in an airtight container at room temperature for up to 2 days. Refrigeration is not recommended because it can dry them out.
- Unglazed donuts can be frozen in a freezer-safe container for up to 2 months. Thaw them at room temperature and warm slightly before glazing and serving.
- If doubling or tripling the recipe, adjust all ingredient quantities accordingly.
Chef’s Secret
For especially smooth, bakery-style donut shapes, flour the cutter before every few cuts and transfer the freshly cut dough gently to the parchment-lined baking sheet.
Avoid compressing or handling the cut dough more than necessary during this stage.
Keeping the shapes light and undisturbed as they complete their second rise helps preserve the puffy dough that gives these donuts their characteristic airy interior.
Serving Suggestions
Serve these donuts fresh with a selection of the vanilla, chocolate, and strawberry glazes so everyone can choose a favorite.
Add rainbow sprinkles to the vanilla and strawberry versions and chocolate sprinkles to the chocolate-glazed donuts for a colorful bakery-style finish.
They make a natural breakfast or brunch treat alongside coffee, tea, or a glass of milk, and they can also be arranged together on a serving platter for a sweet dessert spread.
Conclusion
These homemade yeast donuts bring together a soft, airy center, golden fried exterior, and glossy sweet glaze in one irresistible treat.
With three glaze options and simple sprinkle toppings, they are easy to customize while still delivering the classic bakery-style donut experience.
Serve them fresh for the best texture, and enjoy a homemade favorite that is every bit as inviting as it looks.
