Prepare the Pan and Oven: Position the oven rack in the middle and preheat the oven to 350°F (180°C). Line an 8-inch (20 cm) springform pan with baking or greaseproof paper, covering both the bottom and sides.
Make the Biscuit Mixture: Combine the finely crushed digestive biscuits with the melted butter, mixing until the texture resembles wet sand. Add the butter gradually if needed, because the amount required can vary according to the biscuits used. The mixture should hold together when pressed without appearing greasy. Form the Crust: Transfer the biscuit mixture to the prepared springform pan. Use the flat bottom of a glass or measuring cup to press it into an even layer, creating an approximately 1½-inch (4 cm) rim around the edge.
Bake the Crust: Bake the crust at 350°F (180°C) for 10 minutes. Remove it from the oven and allow it to cool until warm.
Lower the Oven Temperature: Reduce the oven temperature to 285°F (140°C). If your springform pan is not completely leak-proof, place a baking sheet in position to catch any butter that may escape from the base and prevent it from smoking or burning on the oven floor.
Combine the Cream Cheese Mixture: In a large bowl, gently mix the room-temperature cream cheese and yoghurt with a balloon whisk until smooth. Mix rather than vigorously whisking so that you do not incorporate excess air. A stand mixer fitted with a paddle attachment on its lowest speed can also be used. Add Sugar and Cornflour: Mix the sugar and cornflour or cornstarch together first, then add them to the cream cheese mixture. Mix until the filling is smooth and fully combined. Combining these ingredients beforehand helps prevent the cornflour or cornstarch from forming lumps. Add the Vanilla: Mix in the vanilla bean paste until it is evenly distributed throughout the cheesecake mixture.
Incorporate the Eggs: Add the room-temperature eggs one at a time, mixing well after each addition until the filling is smooth.
Add the White Chocolate: Pour in the melted white chocolate, which should have cooled to warm, and mix until completely incorporated and smooth.
Fill the Crust: Pour the white chocolate cheesecake filling into the slightly cooled crust. Smooth the surface evenly.
Bake the Cheesecake: Bake at 285°F (140°C) for about 1 hour 10 minutes. The edges should be fully set and slightly puffed, while the center should remain noticeably wobbly when the pan is gently shaken. Begin checking around 10 minutes before the suggested baking time, as oven performance can vary. Cool in the Oven: Turn off the oven and leave the cheesecake inside to cool to room temperature with the oven door ajar.
Chill Thoroughly: Once the cheesecake has reached room temperature, transfer it to the refrigerator and chill for at least 4 hours, preferably overnight, before removing it from the springform pan. Keep it refrigerated until ready to decorate.
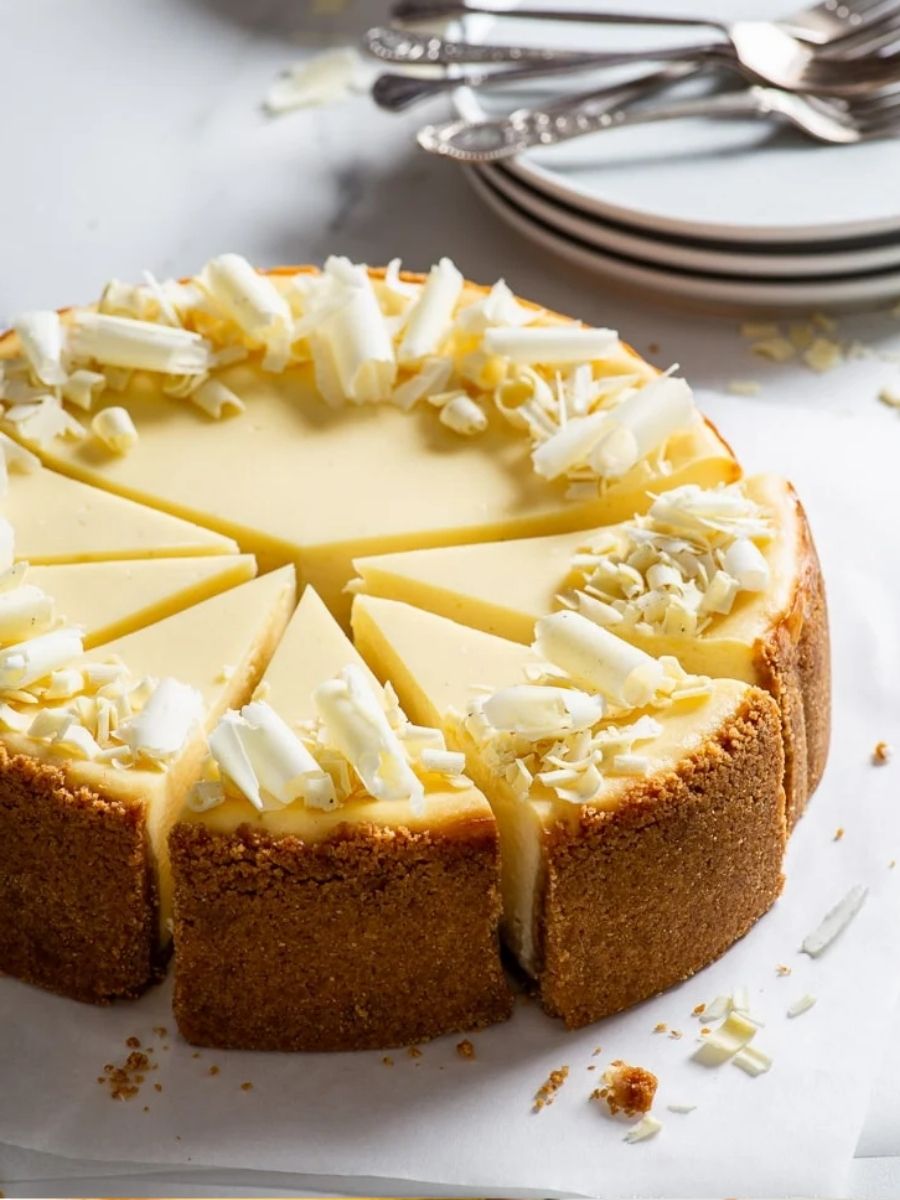
Decorate the Cheesecake: Once completely chilled, remove the cheesecake from the springform pan and transfer it to a serving plate. Leave it plain or finish with white chocolate shavings, fresh raspberries, or fresh strawberries.
Slice and Serve: Cut the decorated cheesecake into slices and serve. For especially clean slices, use a sharp knife warmed in very hot water. Wipe the knife dry before slicing, then repeat the warming and drying process between slices.
Store the Cheesecake: Keep the cheesecake in a closed container or tightly wrapped in cling film in the refrigerator for 4–5 days.